- Toolbar can be used as:
- used as ActionBar
- Standalone Toolbar
Adding most primitive Toolbar in XML : ( this is not full with all attributes)

Now that we are adding toolbar, we can remove the ActionBar. How to do this?
Go to styles.xml and change the theme to : ‘Theme.AppCompat.Light.NoActionBar’. We can make tool bar to act as ActionBar.
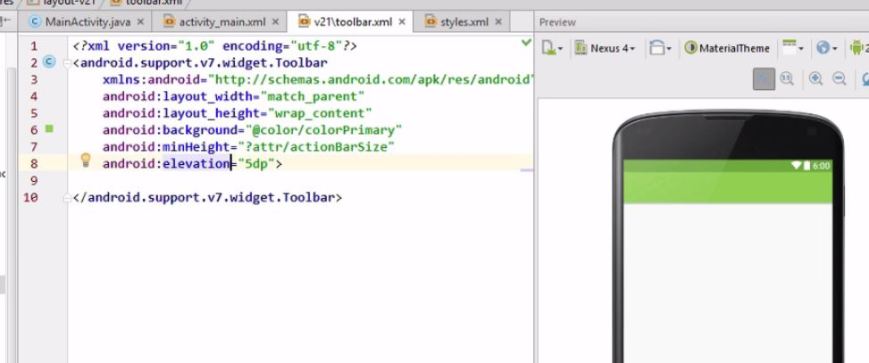
Toolbar with minHeight:
android:minHeight=”?attr/actionBarSize”
android:elevation=”5dp” <!– this elevation creates shadow effect. It’s only used with API 21 and above –>
To maintain backward compatibility, create another folder “layout-v21” and add files which are compatible with API level 21 and above here.
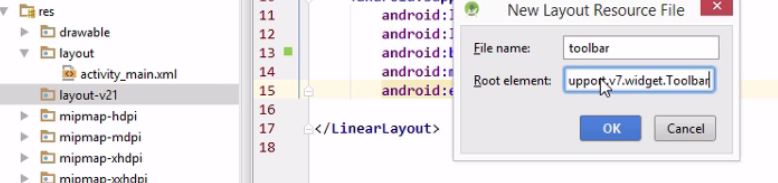
We have created a new resource file, toolbar.xml and added attributes that are compatible with API level 21 and above here.
Similary create a new resource file in layout folder as well : toolbar.xml. This file is only used with devices with API level less than 21.
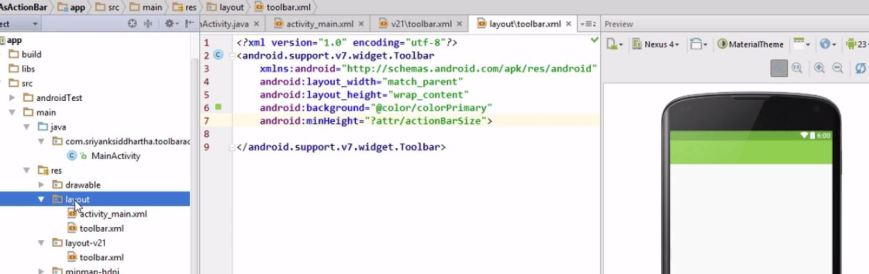
Here, we can check. We have two files for toolbar.
layout\toolbar.xml
layout-v21\toolbar.xml –> in this file, have attributes compatible with Lollipop and above devices.
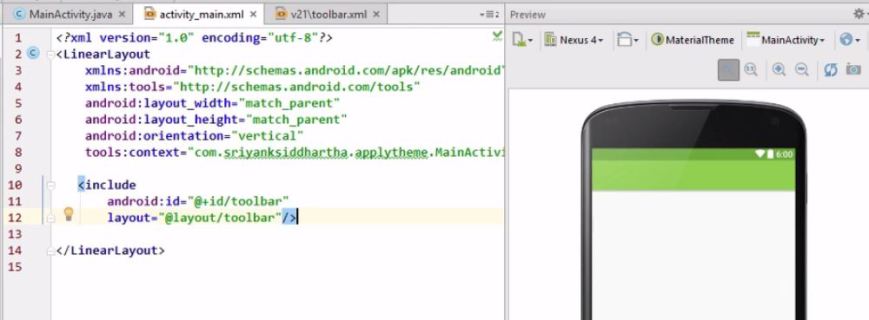
How to include this toolbar.xml file in activity_main.xml???
<include layout=”@layout/toolbar”>
Finally, the activity_main.xml file looks like this:
We need to add ‘id’ attribute to refer to this toolbar in Java code.
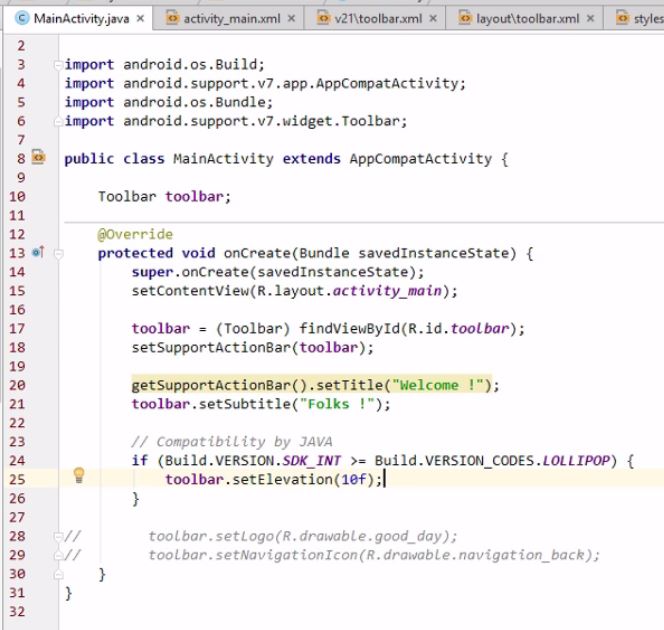
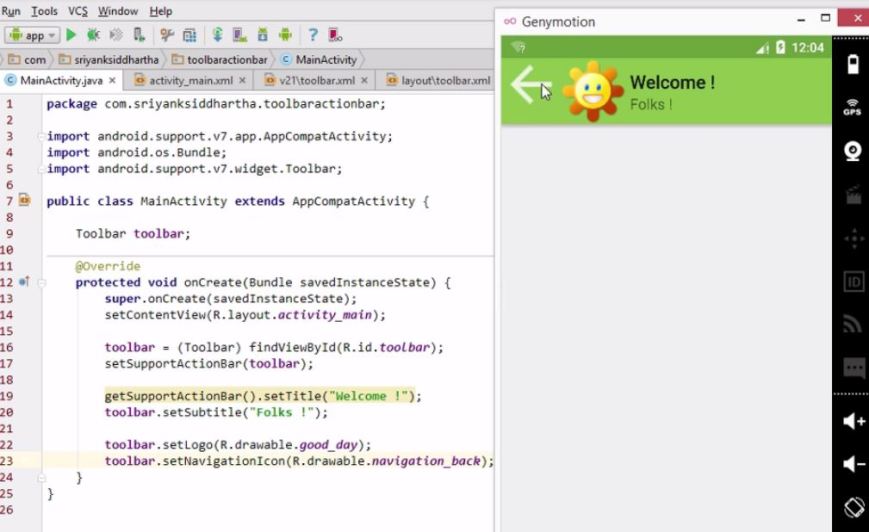
Accessing toolbar in Java:
Choose, android.support.v7.widget package for our Toolbar.

Since we are using Toolbar belonging to android.support.v7.widget package, we need to use setSupportActionBar() method to set this toolbar as ActionBar.
Finally, the Java code:
To maintain backward compatibility using Java code: